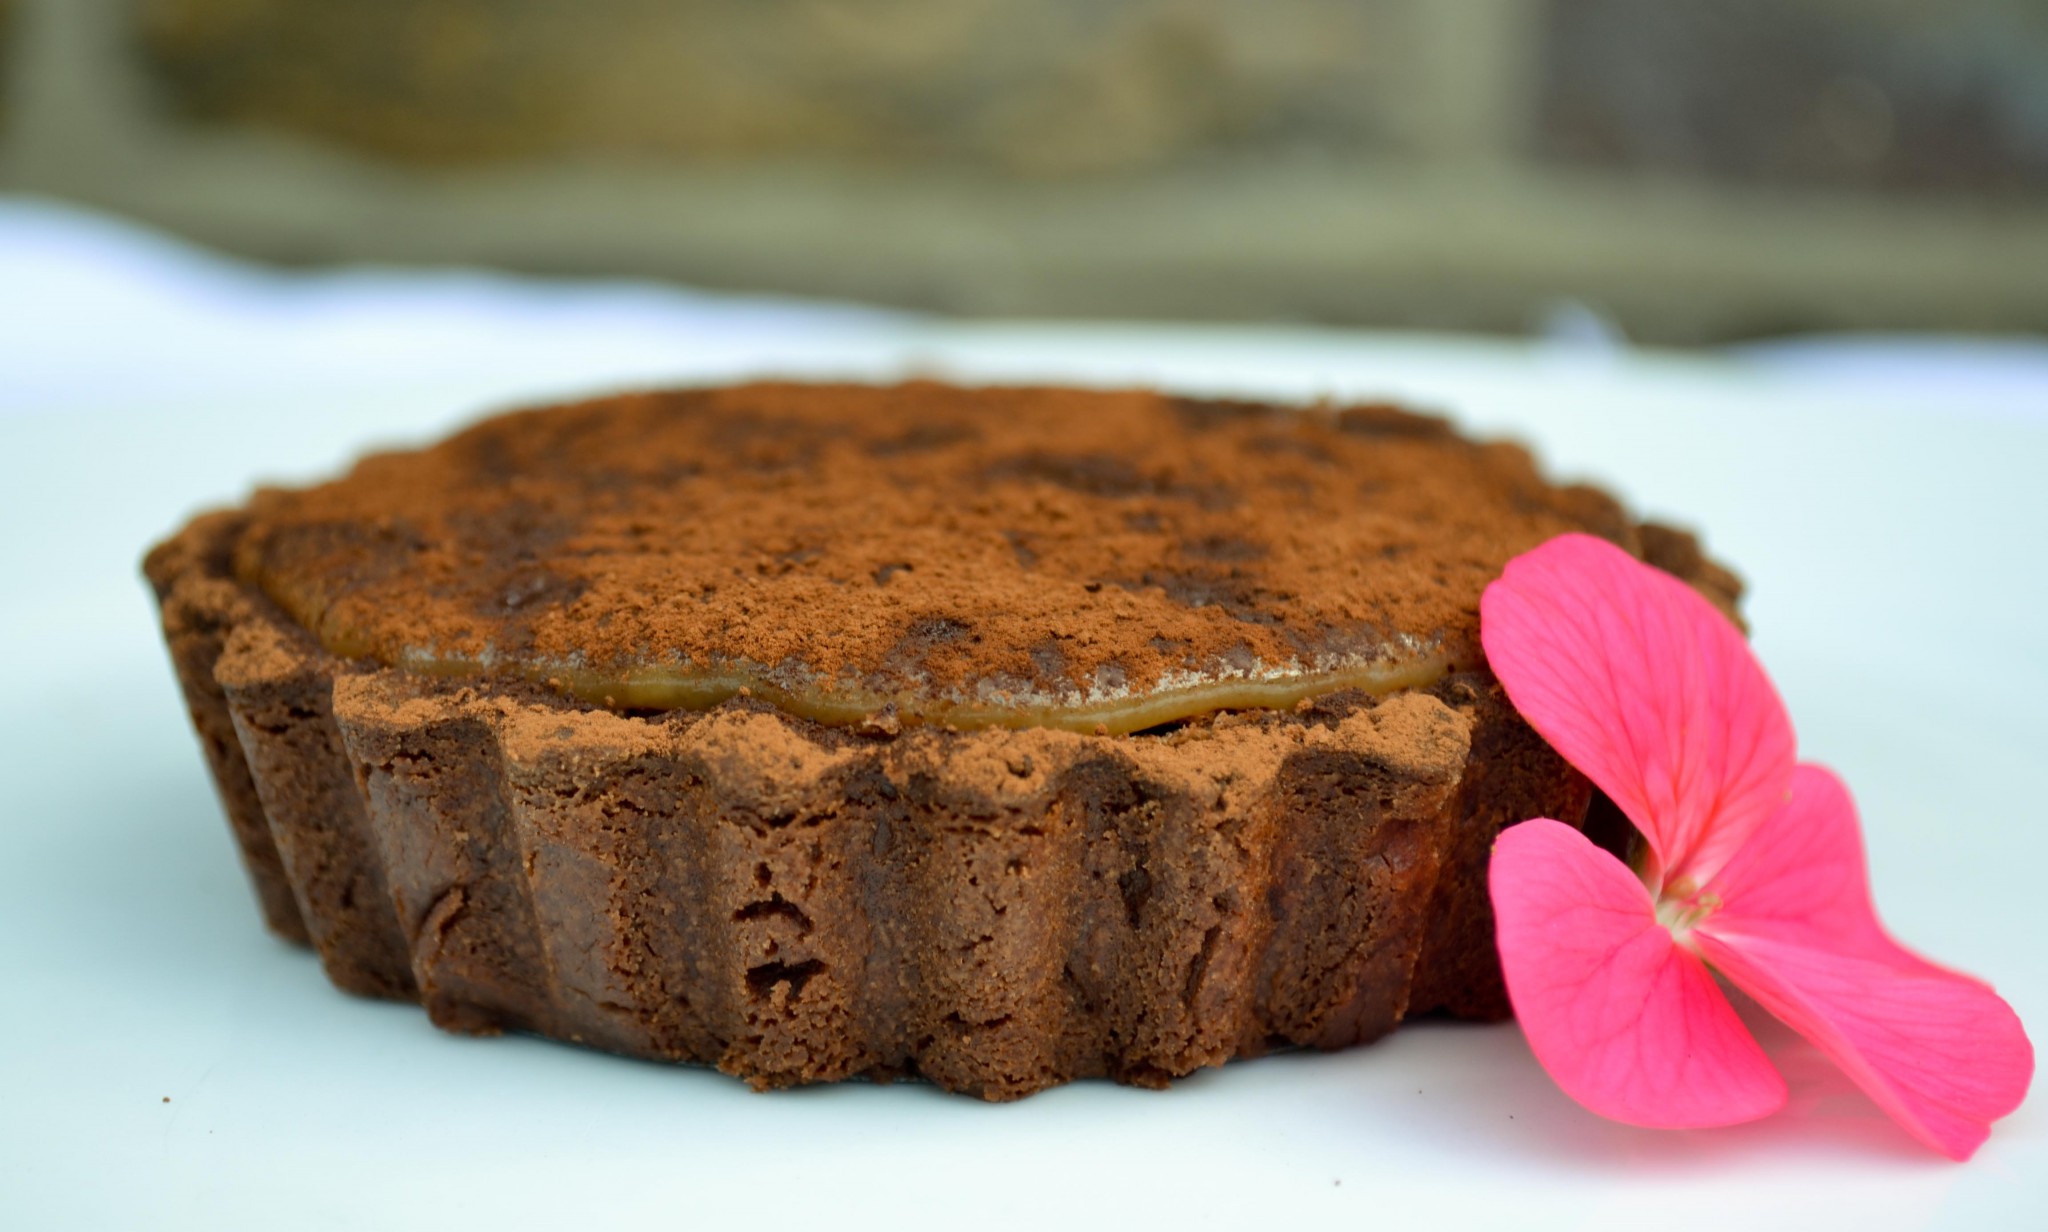
I’m warning you. These are decadent. I mean really, really decadent. I’ve added an extra layer of caramel to the version below because I made these for my girls as a ‘well-done-at-school-treat’. The caramel balances the bitterness of the chocolate really well.
For an adult version leave the caramel out and serve with a dollop of sour cream or vanilla ice cream. My favourite is the fabulously family run Winstones Ice Cream.
You’ll need
For the pastry
- 200g plain flour, sifted
- 100g cold unsalted butter, diced
- ½ tsp salt
- 2 tbsp icing sugar
- 4tbsp good quality cocoa powder
- 1 large free-range egg
- 2 tbsp ice cold water
- extra butter, for greasing
- extra cocoa powder for dusting
For the filling
- 300g dark chocolate (80% cocoa solids or more)
- 200g soft unsalted butter, diced
- 2 eggs
- 2 egg yolks
- 50g sugar
For the caramel
- 150g unsalted butter
- 150g dark brown sugar
- 395g tin condensed milk
Equipment
- 8 to 10 mini tart tins – loose bottomed
- A food processor – I have a Magimix
- A KitchenAid with whisk attachment or an electric whisk
To make them
- First make the pastry by putting the flour, salt, cocoa powder, icing sugar an butter into the food processor and blitzing quickly to breadcrumbs.
- Mix the egg and water together and slowly pour this into the processor while it’s on til you get a dough just come together. You might not use all the mixture.
- Scrape the dough out, knead it lightly then cling film it and pop it into the fridge for at least 30 minutes. At this point I go for a run to counteract the decadence to come!
- Preheat the oven to 180C.
- Grease the tart tins and set aside.
- Roll the pastry out to 5mm or so thick and then carefully line each tart tin with it.
- Pop them in the freezer for about 5 minutes.
- Line them with foil and baking beans and bake them blind for 20 minutes.
- Take them out of the oven and leave them to cool while you make the chocolate filling.
- Melt the butter and chocolate and set aside to cool slightly.
- Whisk the eggs, egg yolks and sugar in the KitchenAid with the whisk attachment at speed 8 until it is pale and thick.
- Gently fold in the melted chocolate and then spoon into the cooled pastry cases. Make sure you leave about 5mm from the top otherwise it overflows!
- Bake these for another 8 minutes. The filling will look as if it is not set but it will as it cools so don’t worry.
- At this point, you could serve them warm with a dollop of sour cream.
- Leave them to cool in their tins and then on a wire rack while you make the caramel.
- Heat the butter and sugar until bubbling then add then the condensed milk and stir until it’s thick and bubbly.
- Spoon this over the completely cooled chocolate filling and then dust with cocoa powder.
I don’t drink a lot of coffee but this does go well with a really nice strong Espresso or Cappuccino.

