Jam. Such a simple word. Why then does it instil so much fear when paired with the word ‘making’?
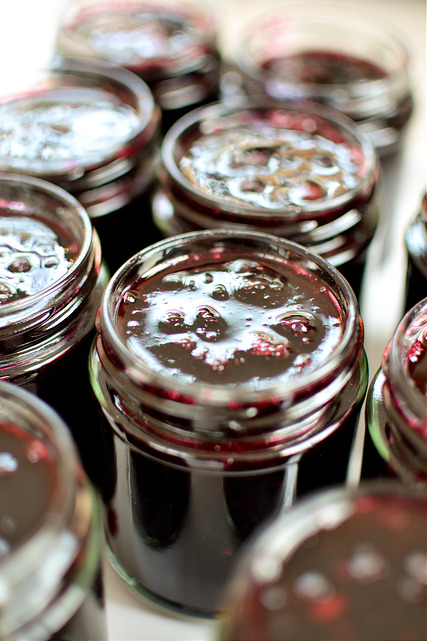
I made jam once. Poured it into a jar and it went solid. Rock solid. Even placing the jar in boiling water didn’t loosen the contents even slightly. The expensive Kilner jar went in the bin and jam making was laid to rest. Recipes and creative combinations filed away and forgotten…
Until a few weeks ago when I met Vivien Lloyd, author of First Preserves. Vivien was hosting an evening of jam making – step by step jam making – and I jumped at the chance to go.
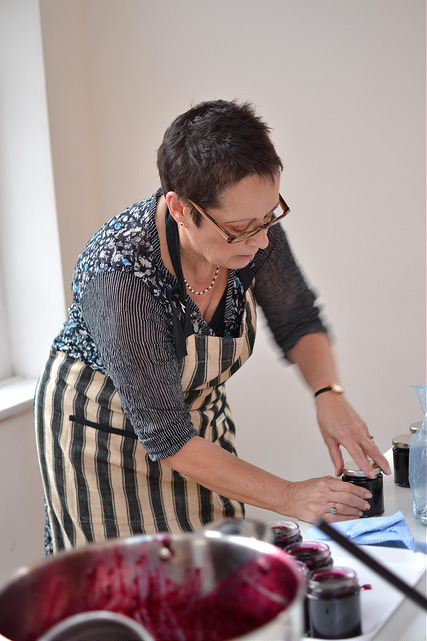
Let me dispel the first myth right away. Jam making does not require specialist equipment. Vivien had a portable cooker, a pan, a kitchen thermometer, an oven proof dish, a few spoons and of course some empty jars for filling. I think you should have all of these items in your kitchen and even if you don’t, they are readily available from most supermarkets.
Vivien started her Blackcurrant and Chilli Jam by preparing her fruit and took us through those naturally high in pectin which would be good for beginner jam makers. Blackcurrants, raspberries and gooseberries for example. Not strawberries. These have a high water content and low pectin levels and so beginners should avoid or pair with another fruit.
Most jam recipes start with cooking the fruit til it has softened and burst. Additional flavours, such as the Habanero chilli she was using, can be added by placing in a muslin bag and cooking out with the fruit. Once the fruit is ready, whatever is in the muslin bag can be squeezed out and then discarded.
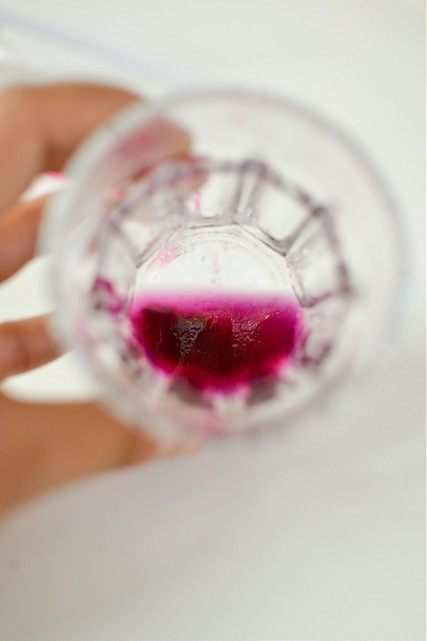
Before adding the sugar Vivien tested the pectin levels by removing about a teaspoonful of the mixture and swirling it together with some methylated spirit. A jelly like clump formed which indicated that there was a good level of pectin present.
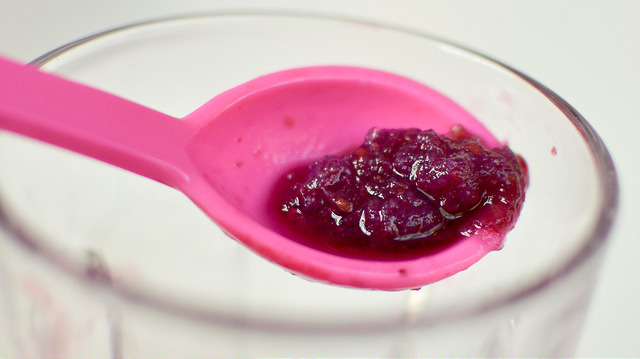
Next tip was for sugar. She had warmed it so that it would dissolve more easily and enable the mixture to reach setting point quickly. So logical. Now the dreaded, tricky part. Bubbling the jam until a ‘rolling boil’ and then to ‘setting point’.
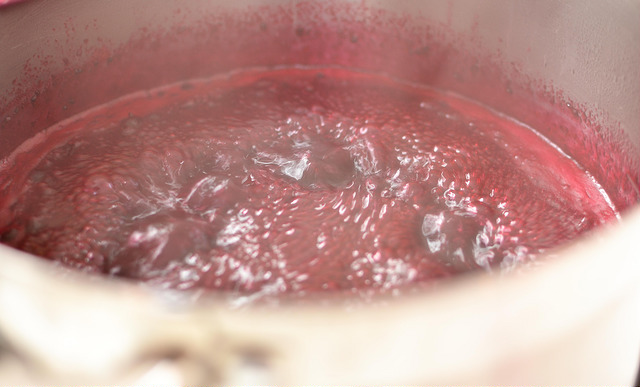
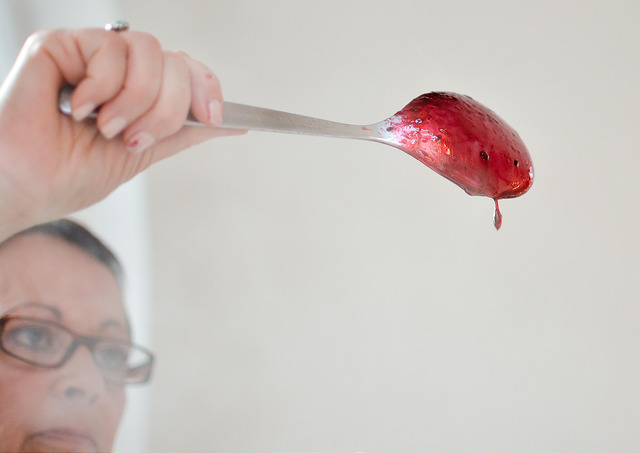
Vivien took us through various methods for testing setting point which are all explained in her book (with step by step pictures thankfully). Vivien prefers the simplicity of twirling the spoon until a droplet holds firm-ish – the flake test.
The final stage was simply removing any scum from the surface with a spoon…….
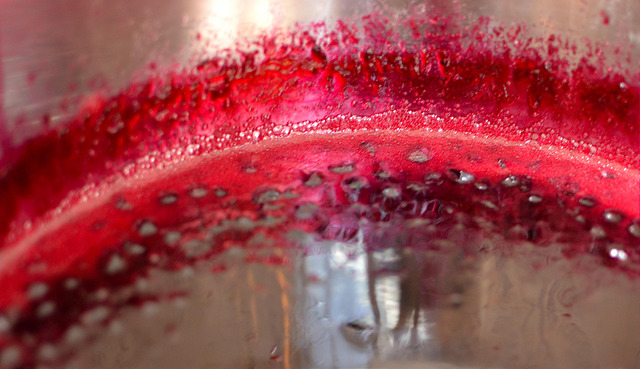
…. and then bottling up.
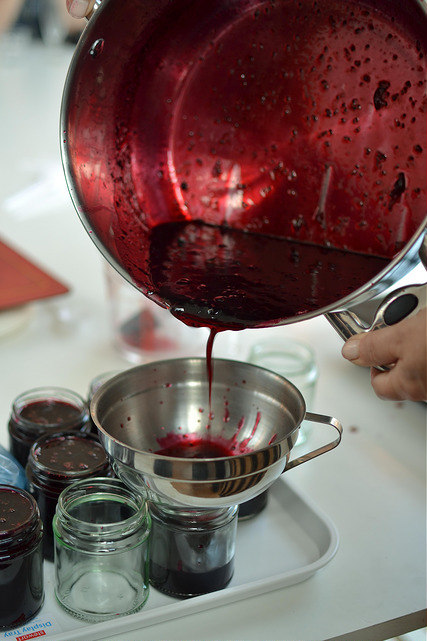
A few more excellent tips. Fill the jars to the brim because the mixture sinks as it cools. Re-use jars but not lids as strong flavours are retained.
I was now more confident to try my hand again. I settled for Vivien’s Gooseberry and Elderflower Jam recipe but I had left it too late for elderflowers and so used a vanilla pod instead. I halved the recipe as I only had 500g of gooseberries. It was all going really well until setting point. My mixture refused to fall off the spoon the way Vivien’s had done.
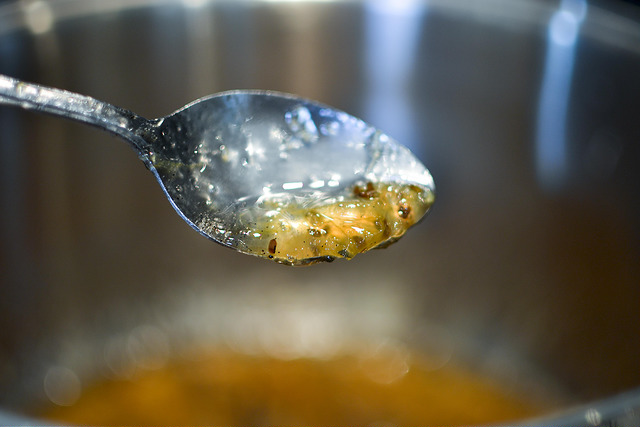
I didn’t have any meths to test a different method and had forgotten to put a plate in the freezer. So I reached for my themomter. 108C. I turned the cooker off right away and stirred to cool the mixture down quickly. It was very watery when it went into the jars and I could feel the ‘set anxiety’ rising. Time would tell. I tried to forget about it til the morning. I was not going to lose sleep over some jam!
In the morning, I reached for the jar. A comforting pop. A lovely set jam with a wonderful waft of vanilla along with the gooseberry.
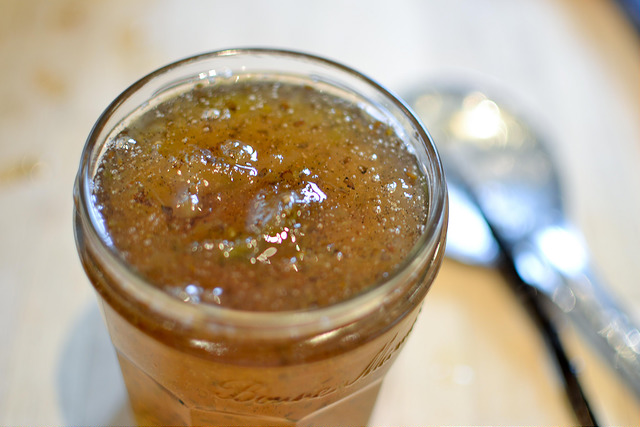
But it was not quite as gloopy as Vivien’s had been so I assessed it as a little ‘overboiled’. Nevertheless I am very pleased with myself. No more jam making fears!
Have you ever made jam? What are your top jam tips?
Related articles
- Book review: First Preserves by Vivien Lloyd
- Full photo set on my Flickr
- Thoughts on the same evening by @fussfreeflavours.com
- Thoughts on the same evening by @cookingkt
- Gooseberry jam (emiliaskitchen.wordpress.com)
